Configure and Manage Alerts in an M3 Anvil! Cluster
|
Alteeve Wiki :: How To :: Configure and Manage Alerts in an M3 Anvil! Cluster |
Configuring Alerts
The Anvil! is designed to run without humans, and as such, Scancore's primary purpose is to make its own decisions. Secondarily though, it is also an alert system. The way alerts are delivered is by email (local delivery/relay for offline systems works fine).
Alerts are configured in three steps;
- Configure the mail server to send emails to.
- Configure alert recipients
- Optional; Configure "Alert Overrides"
Configure Mail Servers
The first step is to configure where alert emails should be delivered to. If you configure multiple, they will be cycled through as needed. If the active mail server doesn't respond, the Anvil! will reconfigure to use the next one. When all have been tried, it loops back to the first in the list. If the mail server(s) can't be connected to, then alerts will sit in queue and be sent when one starts working again.
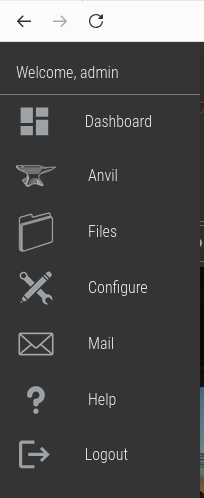
Click on the Striker logo on the top left to open the menu, then click on 'Mail'.
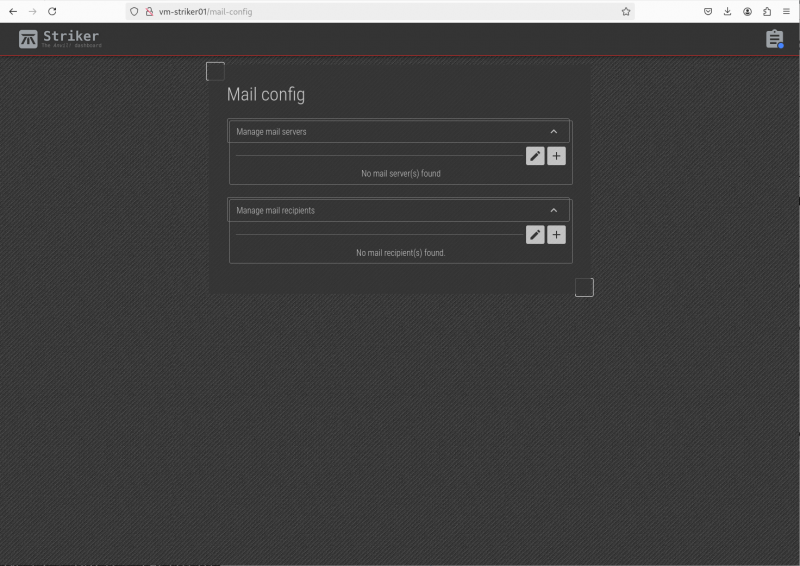
There are two sections, 'Manage mail servers' and 'Manage mail recipients'. We'll start with 'Manage mail servers', so click on the '+' to add the first mail server.
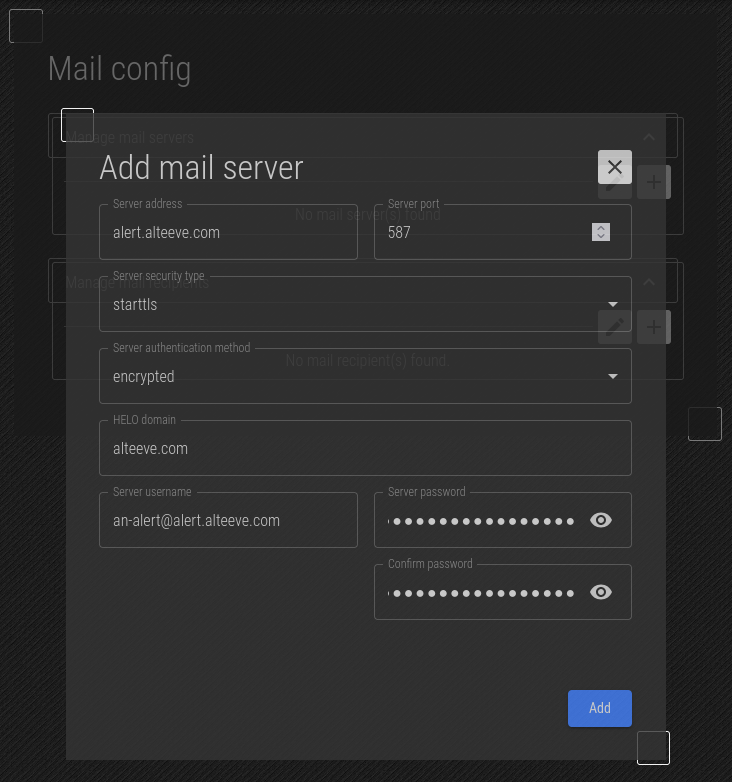
The details to enter here will depend on the mail server you plan to deliver email to. In our case, we'll setup our alert.alteeve.com mail server.
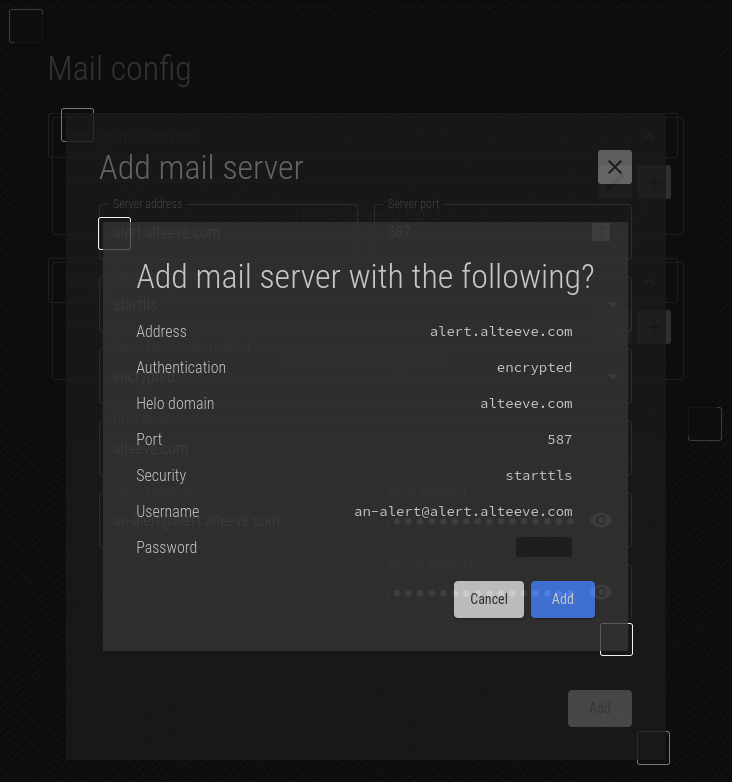
When you click 'Add', it will ask you to confirm that the mail server is configured correctly.
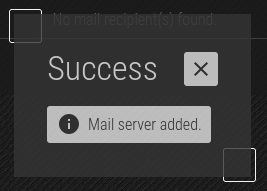
Close the confirmation box.
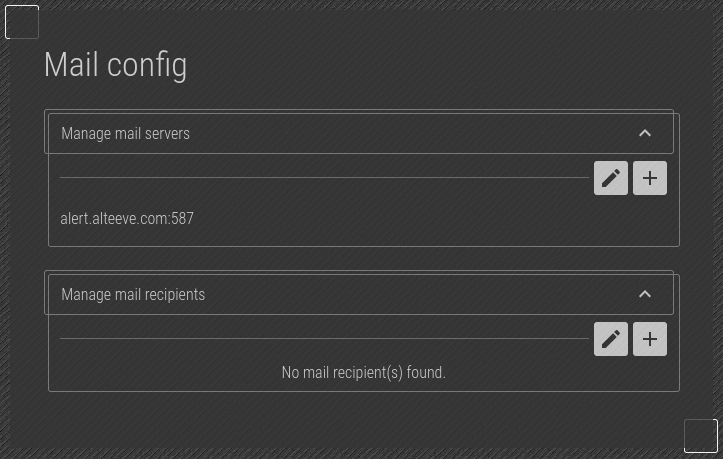
The new mail server is now shown!
Configure Mail Recipients
Next, we need to configure who will receive alerts.
Normally, we create two main alert recipients, "alert" and "notice".
The "alert" level recipient is generally less noisy and is the level used internally at Alteeve to monitor clients. These alerts are generally related to actual issues that a human should check on, like power loss events, hardware issues, etc. As such, alerts sent to this recipient triggers a time sensitive response.
The "notice" level recipient is generally fairly noisy, and generally sends alerts that are not important. The value of this alert level is that it can show patterns that can act as early indication of developing problems. Examples of this would be input power going above or below the transfer voltage, temperature sensors entering and leaving the warning threshold, early hardware issues like correctable memory errors, and servers that reboot more often than expected.
As such, "notice" level alerts are important, but generally checking these alerts once or twice a day is sufficient.
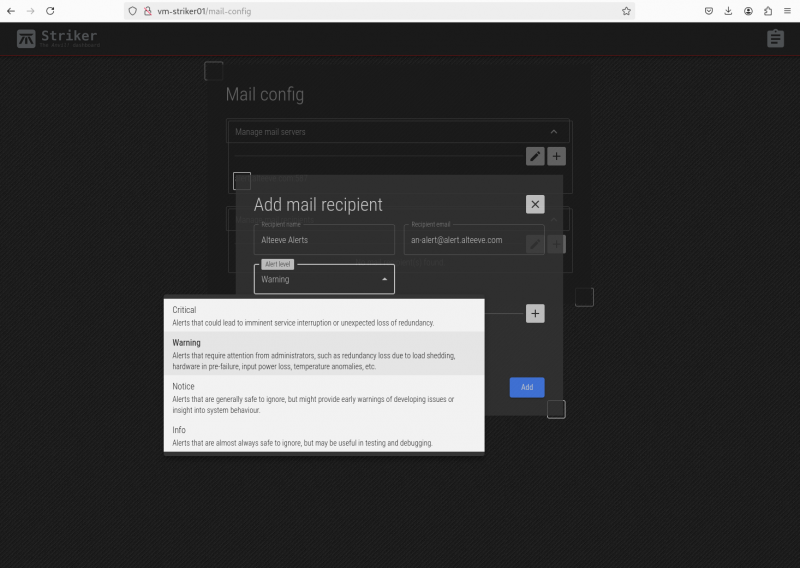
Click on '+' under 'Manage mail recipients' to open the mail recipient form. It's very simple, just a name (or description), the email address to send alerts to, and the alert level for this recipient.
The "Level" has four options;
| Level | Description | Typical User |
|---|---|---|
| Critical | Alerts that could lead to imminent service interruption or unexpected loss of redundancy. | Managers |
| Warning | Alerts that require attention from administrators, such as redundancy loss due to load shedding, hardware in pre-failure, input power loss, temperature anomalies, etc. | System administrators |
| Notice | Alerts that are generally safe to ignore, but might provide early warnings of developing issues or insight into system behaviour. | System administrators |
| Info | Alerts that are almost always safe to ignore, but may be useful for testing and debugging. | Developers |
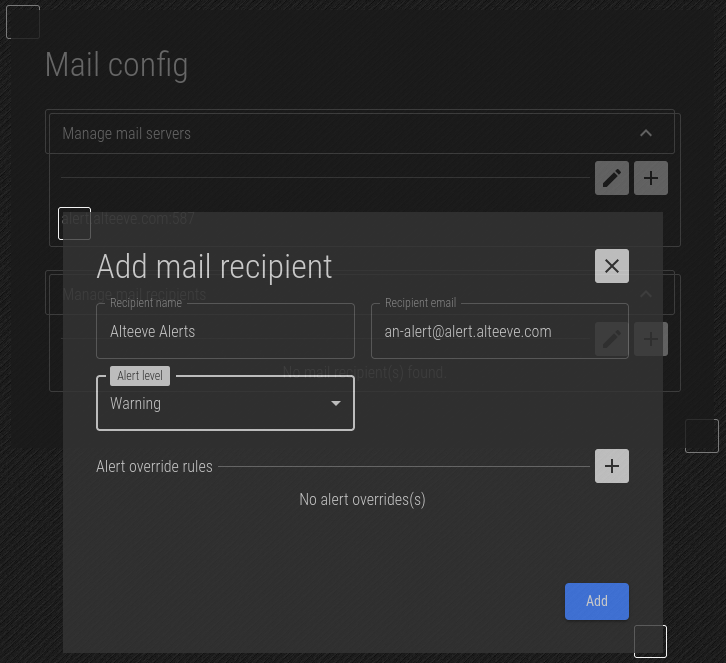
Once the form is complete, click 'Add' to save it.
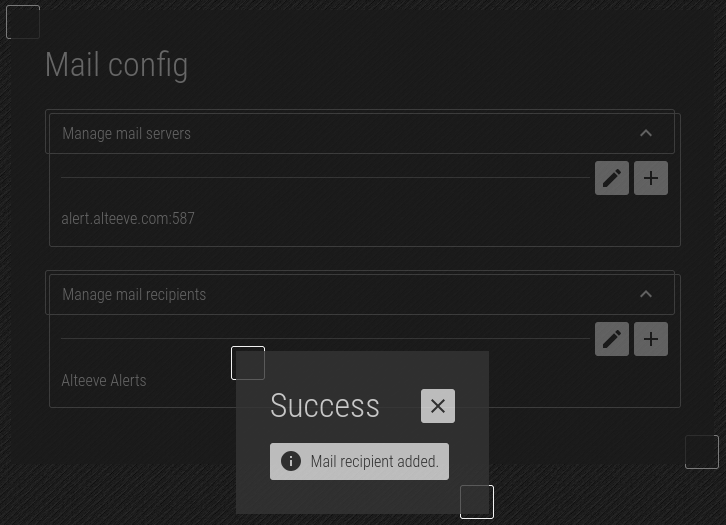
Confirm the data, and then click 'Add' again to save the new email recipient.
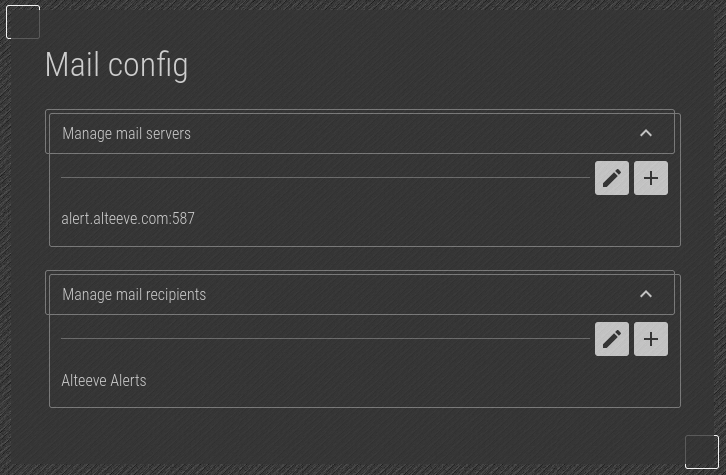
The new recipient has been added!

The second recipient, 'Alteeve Notices' has been added. These are distribution lists but can just as easily be individual recipients, also.
Alert Overrides
| TODO: To do when multi-node clusters are documented. |
You will notice in the alert recipient field that there was a section called 'Alert Override Rules'. We'll revisit this when we add additional nodes. In brief though, this allows you to change the alert level for a specific node. A common use case for this would be a node that is used for testing, where alerts are not critical and can safely be ignored by those who are not involved in the testing.
Testing Alerts
| Note: This feature will be brought into the UI at a future release. |
To test the mail configuration, you can use the anvil-manage-alerts command to generate test alerts.
anvil-manage-alerts --test --level warning
This is a test alert message sent at alert level: [Warning].
This will send an alert email to anyone configured to receive 'Alert' or lower level alerts. In our case, both 'Alteeve Alert' and 'Alteeve Notice' should receive it. Run the same command again, but with --level notice, and only 'Alteeve Notice' should receive the alert.
The email should look like this;
Subject: [ ScanCore ] - Warning level alert from an-striker01.alteeve.com
[ anvil-manage-alerts ] - Warning
This is a test alert message sent at alert level: [Warning].

--
This alert email was sent from the machine:
- an-striker01.alteeve.com

It was generated by ScanCore, which is part of the Anvil! Intelligent Availability platform running on the host above.

This email was *not* sent by Alteeve. If you do not know why you are receiving this email, please speak to your system's administrator.

If you need any assistance, please feel free to contact Alteeve (https://alteeve.com) and we will do our best to assist.
With that, alerts are configured!
| Any questions, feedback, advice, complaints or meanderings are welcome. | |||
| Alteeve's Niche! | Alteeve Enterprise Support | Community Support | |
| © 2025 Alteeve. Intelligent Availability® is a registered trademark of Alteeve's Niche! Inc. 1997-2025 | |||
| legal stuff: All info is provided "As-Is". Do not use anything here unless you are willing and able to take responsibility for your own actions. | |||

