Anvil! m2 Tutorial - Installing RHEL/Centos
|
Alteeve Wiki :: How To :: Anvil! m2 Tutorial - Installing RHEL/Centos |
This tutorial covers how to install Red Hat Enterprise Linux version 6. If you want to install CentOS, the process is almost exactly the same, with notes pointing out where things are a little different.
This tutorial is a companion to the main "Anvil! m2 Tutorial"
Downloading The Install DVD
If you wish to use RHEL6, you will need to purchase for each node:
- Red Hat Enterprise Linux 6 (appropriate for you hardware/sockets)
- Resilient Storage Add-On (which includes the High-Availability Add-On)
You can get a 30-day trial of RHEL 6 if you would like to try the Anvil! with RHEL proper before you purchase.
If you want to use CentOS, you can download the install disk here:
- Direct link (University of Waterloo mirror) for 6.6;
- Full DVD 1 (4.3 GB) (we don't need disk 2)
- Bit Torrent;
- To use a direct link closer to you, please find the mirror closest to you;
Once you have downloaded the ISO image, use your favourite DVD burning program to write it to a disk. Insert it into your computer (or plug in a USB DVD drive) and boot off of it.
Operating System Install
| Note: This section of the tutorial assumes you are using the full install DVD. If you downloaded the Minimal disk, don't worry. The only real difference is that the "Install Type" will be skipped. |
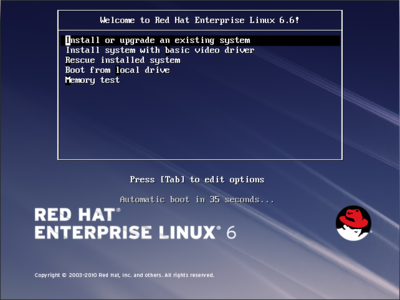
When you first boot, you will see the initial boot menu. Choose;
- Install or upgrade an existing system
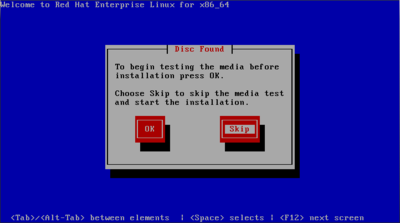
You will be asked if you want to check the DVD disc to make sure there are no scratches or other problems that might cause a failure during an install. If you're using a new disk, you can safely skip this. If you want to be extra careful, you are certainly free to run it by pressing 'OK'. I know my copy is good, so I will 'Skip' it.
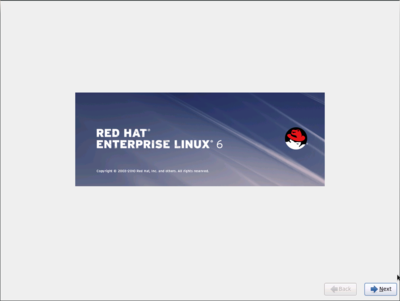
The install will switch to a graphical install at this point. The only thing to do is press the 'Next' button in the bottom-right.
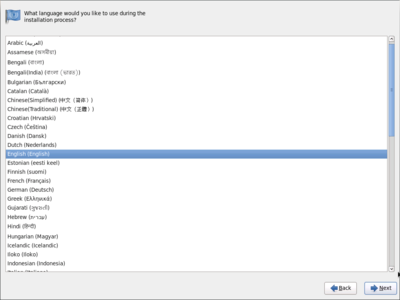
You can choose your preferred language. We'll choose English.
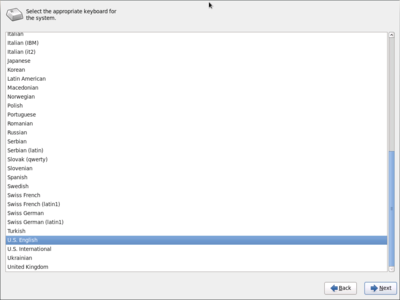
Then you can choose your keyboard type. We'll choose U.S. English.
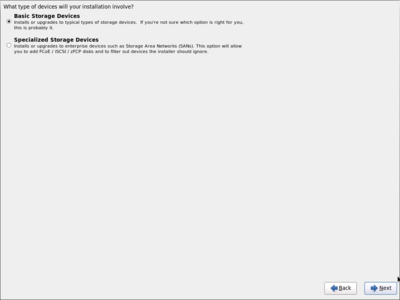
Now we see a little more complex question, but don't worry. We're always going to choose the first option;
- Basic Storage Device
The second option is only needed by people connecting external, networked storage (called iSCSI).
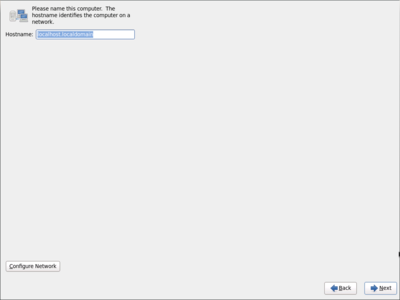
We can give the server a name (and configure the network) here if we wanted to. However, the Striker installer will handle all of this in a little bit, so we'll leave everything as default and simply click 'Next'.
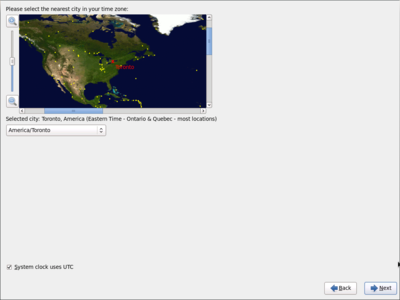
| Note: It is not required, but it is recommend that the "system clock uses UTC" check-box is selected. |
Click on the map in the top-right corner to find your time zone. Alternatively, click the select box below Selected City to find your time zone by name.
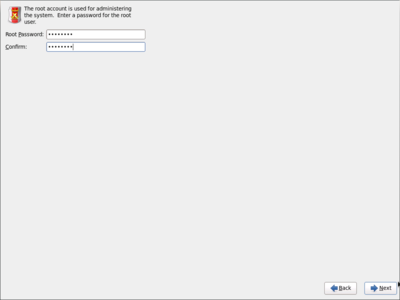
| Warning: Please don't forget the password you enter here! |
The Striker installer will update the system (root user) password, but we need to enter something to use during the install. It is fine to use the same password you plan to use later, of course.
For the sake of the tutorial, we will use 'Initial1'.
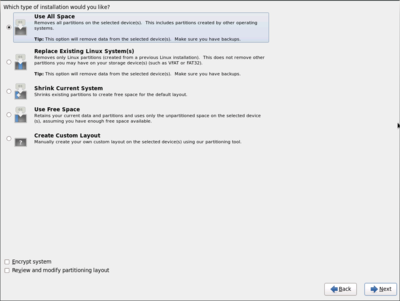
This is a dedicated machine, so we're going to use all of the disk.
- Click the top radio-button to select "Use All Space".
- Click on 'Next'
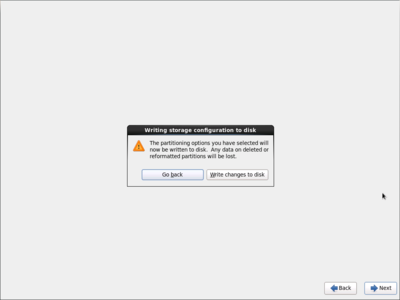
The partitioning step will erase anything that might have been on your computer, so the installer asks you to confirm. Do so by clicking on Write changes to disk'.
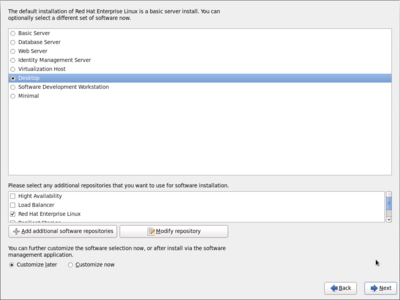
For the sake of keeping this install as simple as possible, we're going to select the "Desktop" radio button. The check-boxes below can be left as they are.
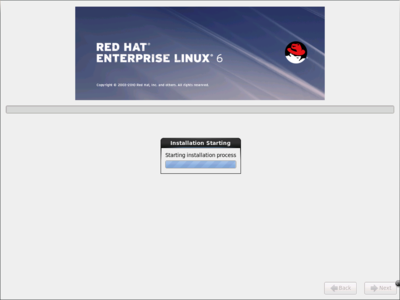
Voila! The installation is under way.
Now is a great time to go grab a $drink.
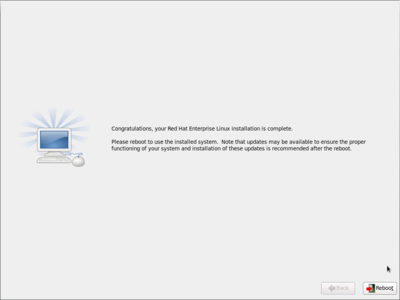
After a little while, the install will be finished. All that is left to do is click on 'Reboot'!
Striker First Boot
| Note: If you are using CentOS, the screens asking to register with Red Hat's Network will not apply to you and you can safely ignore them. |
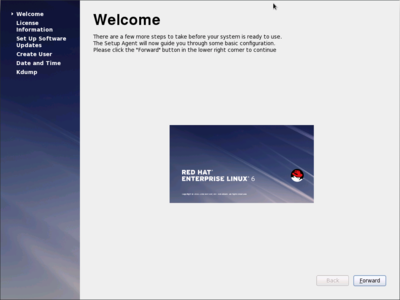
The first time that RHEL runs, it will ask you a few questions. Being polite though, it starts of welcoming you. Press 'Forward' to get started.
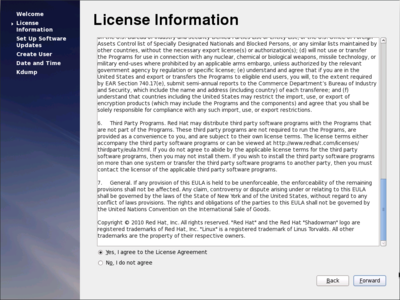
| Note: On CentOS, this license is quite a bit simpler. |
Being that RHEL is a commercial operating system, there is an End User License Agreement. It is a refreshingly short document, explaining the GNU licensing, limitations of warranty, export restrictions and so on. Please read it over and then, if you agree, press 'Forward' to agree.
| Note: On CentOS, this stage (and the windows that follow) do not apply to you. |
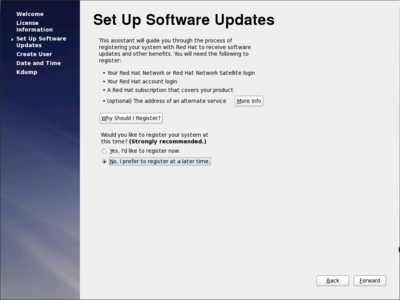
When you purchased your Red Hat support (via the RHEL6 purchase), or when you registered for your 30-day trial, you will have created a Red Hat Network (RHN) account. If you want to use those credentials to register your system now, you can do so.
For the sake of brevity, we're going to skip registration just now and come back to it after the install is done.
Click to select the "No, I prefer to register at a later time." radio button and the press 'Forward'.
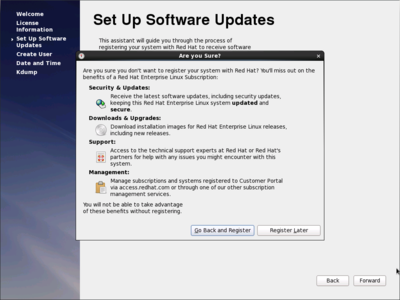
You will be asked to confirm that you want to skip registration. Click 'Register Later' to confirm.
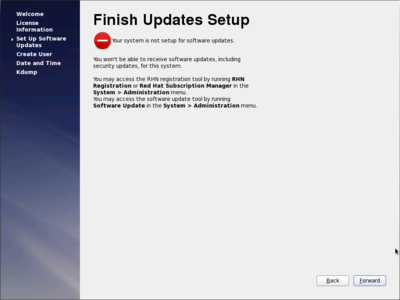
A little flair for the dramatic.
We're reminded that we won't get updated at this time, but that is OK, we'll register later. For now, click 'Forward'.
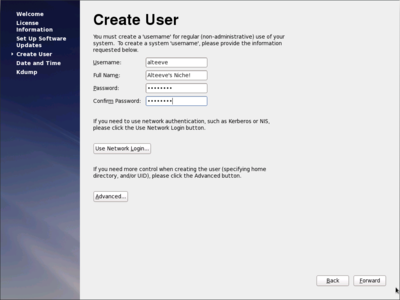
This is where you create your normal user. You can use any name you like. We're using;
- Username: alteeve
- Full Name: Alteeve's Niche!
Enter the password you want to use for this user. Note that it will not be altered later by the Striker installer.
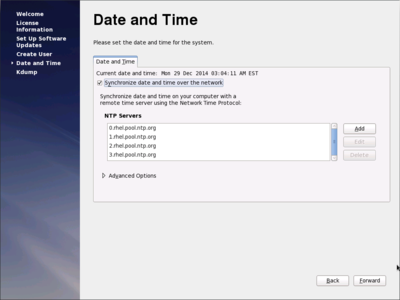
Next we tell the system to keep it's date and time in sync with time servers on the Internet.
To do this, click to select 'Synchronize date and time over the network. The default pool of time servers are fine.
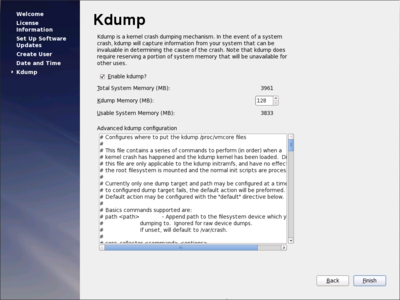
The 'kdump' service can be quite useful if you run into trouble down the road, so we're doing to leave it enabled.
Click 'Finish'.
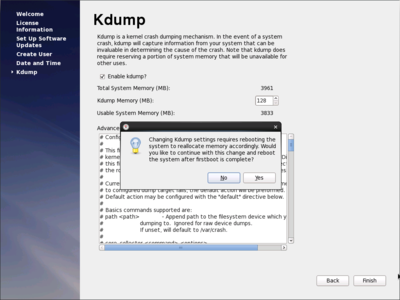
The 'kdump' service needs a reboot to start working, so it prompts you to reboot when the setup finishes. Click on 'Yes' and then 'OK'.
Your system will reboot and we're done!
Enabling Network Access
| Note: This section may not be needed on your install. |
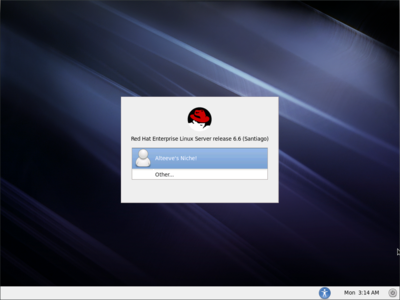
When the system boots, it will wait at the login prompt. Click on your name to get the password prompt.
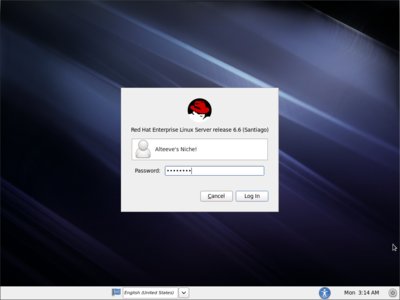
Enter your password and then click on 'Log In'.
| Note: With luck, the next section will not apply to you and you can skip it. |
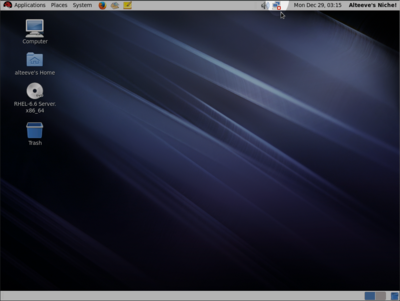
In some cases, RHEL6 doesn't start the network at first. Thankfully, the fix is very easy.
Click on the 'Network' icon which is highlighted in the screen shot above.
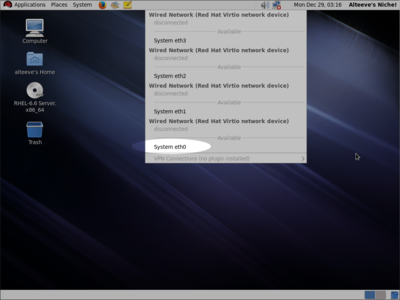
Our system has found network cards, but only one was configured and it wasn't started.
We can see that the configured one is 'System eth0' (the others show disconnected under them).
To start the network, all you need to do is click on 'System eth0'.
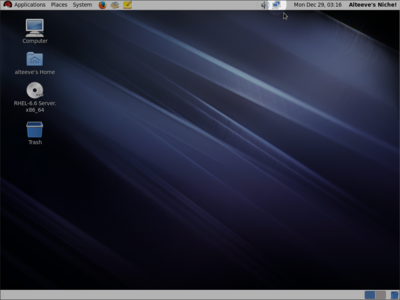
The network icon will spin for a moment and then it will show that it is connected.
Opening the Terminal Window
We're going to have to use the "command line" to download and install Striker. So the last step is to find and open the "Terminal".
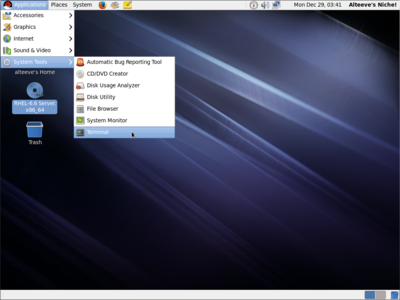
To open the terminal, on the top-left corner click on 'Applications' -> 'System Tools' -> 'Terminal'.
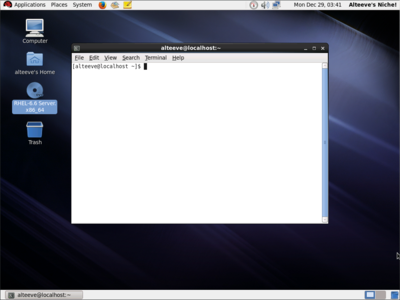
This is where we're going to do the rest of our work. So instead of screen shots, we'll show you the commands you need to write.
By default, the terminal window runs as the normal user you created ('alteeve' in our case). To run the installer, we need to switch to the administrative user called the 'root' user. To do this, type:
su -
You will be prompted to enter the root user password. This was the first password you entered during the operating system install above.
| Note: There is no feedback when you type the password, this is normal. |
Password:
If you got the password right, the command prompt will change to:
[root@localhost ~]#
Excellent, now we can download the Striker installer!
- Return to "Anvil! m2 Tutorial".
| Any questions, feedback, advice, complaints or meanderings are welcome. | |||
| Alteeve's Niche! | Alteeve Enterprise Support | Community Support | |
| © 2025 Alteeve. Intelligent Availability® is a registered trademark of Alteeve's Niche! Inc. 1997-2025 | |||
| legal stuff: All info is provided "As-Is". Do not use anything here unless you are willing and able to take responsibility for your own actions. | |||

